Hanging on the wall, under the low ceiling in the basement of my childhood home was a map. It was plastic, and it had a 3D texture of the Colorado Rocky Mountains. Flying over the range in my imagination I could see the high mountain valleys bowled in by the snowcapped peaks.
As an adult I want a map of the Sandia Mountains that I watch from my window. Mountains with all the moods of an impressionist painter. Sunshine illuminating the mountain, standing proud before a black cumulus mountain range. With a 3D printer, and the wonderful availability of open source software, I can. Here is the recipe.
First acquire digital elevation model (DEM) data from the source of your choice. I got my data from viewfinderpanoramas.org, you have to drill down to the coverage map. I like these data, at 3 arcsecond resolution each pixel represents roughly a 30 meter square. Most publically available DEM data is coarser, which is fine if you are printing large areas.
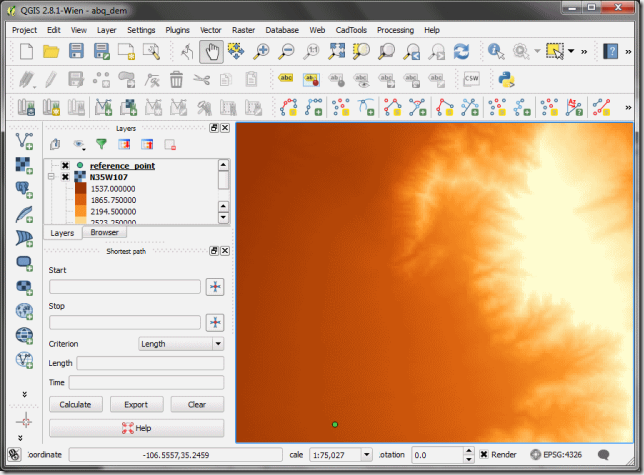
Download the data, unzip it, and add the data to your QGIS session. With a text layer, I loaded a reference location so I could select the printable region. A screenshot of my loaded map appears below.
Certainly the region you want to print is smaller than the DEM file tiles. To extract a region of the DEM file, use the Raster > Extraction > Clipper tool. Choose the rectangular region, draw what you want, and save the new file as a GeoTIFF. Load the new GeoTIFF into QGIS. Scale the vertical range of the new layer so that all values are between 0 and 255. Go to Raster > Raster Calculator and then use the layer’s minimum and maximum values to apply a formula
255*(value – minimum)/(maximum – minimum)
The layer summary shows the minimum and maximum values. In this screencap the values range between 1648 and 3091.
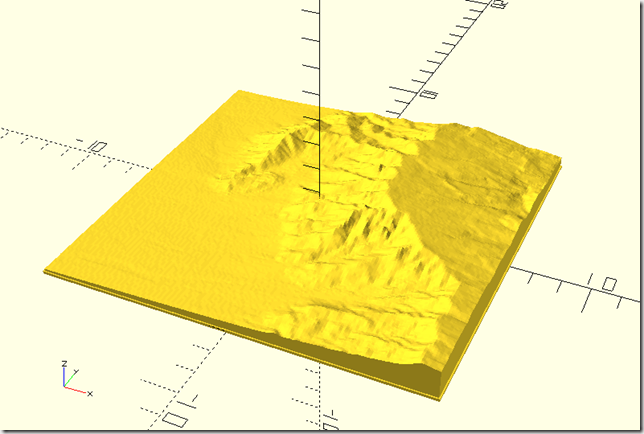
Convert the scaled GeoTIFF to PNG with Raster > Conversion > Translate. OpenSCAD can import PNGs and generate the STL file that most slicing programs want. I needed a recent version of OpenSCAD to load PNGs successfully, the following screenshot was made with 2015-03.1.
The OpenSCAD code is relatively straightforward, the only difficult part is getting the scales correct. You need the pixel extents of the image and the geographic extent (km) of the print area.
// OpenSCAD file to scale and display a raster

vert_min = 1.609; // km
vert_max = 3.255; // km
horiz_x_extent_km = 14.335; // km
horiz_x_extent_px = 154; //
horiz_y_extent_px = 150; // pixels

h_factor = (1/horiz_x_extent_px)*horiz_x_extent_km;//puts it in km
v_factor = (vert_max - vert_min)/100;

// To keep the object manifold I had to impose a lower layer, this
// also provides strength for the thinnest parts of the plot.
translate([0,0,-.04]){
    cube([horiz_x_extent_km,
	  horiz_x_extent_km * horiz_y_extent_px/horiz_x_extent_px,
	  .1],
         center=true);
}
scale([h_factor, h_factor, v_factor]){
    surface(file = "myrasterclipped4.png",
            center = true);
}
From OpenSCAD you can render and export an STL. I print with the excellent Repetier Host software. Repetier loads the STL to produce something like the following screenshot.
And finally 3D print it.
This image is the Sandia Mountains crest, my house is located approximately at the lower right of the print. Each day I look out my back window at the this scene.


