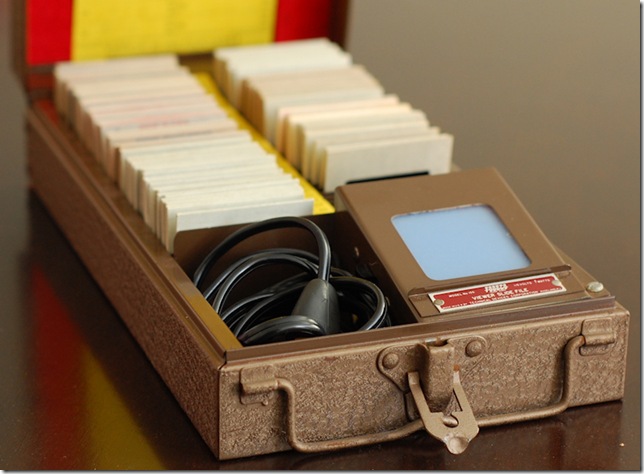
For Christmas I received a box of slides that had belonged to my grandfather. The slides were 35 mm taken between 1955 and 1961, in a mixture of black and white and color. I do not own a slide projector, and some of the film was starting to deteriorate, by yellowing or showing blotches where the emulsion had retreated. It was apparent that these slides would be much more enjoyable converted to digital, and so I scanned them. This entry is the story of that scanning, for the technical voyeur and for my own notes.
The first step was to determine the resolution at which to scan the slides, and possibly a lower resolution for the final scan. Usually when I scan photographs I try to scan at about the resolution of the original image–usually about the scale of the “graininess” in the image. If the graininess is smaller than the blurriness in the picture I would scan to fully sample the blurriness, but no finer.
There are some resolution choices to consider that do not require experimentation. Velvia 50, which has a reputation as an excellent film, indicates resolution typically coarser than 150 lines/mm (3,810 lines/inch). 150 lines/mm corresponds to an equivalent of about a 20 megapixel camera. A recent era camera like the Nikon D300 has a 12.3 megapixel sensor, which corresponds to a resolution of 119 lines/mm (3,030 lines/inch), after adjusting to make it 35 mm equivalent.
The following picture shows a portion of a color slide scanned at my scanner’s maximum resolution,12,800 samples per inch, followed by a resampled version of the same image at 2,133 dpi (1/6), followed by too coarse a scan at 1,067 dpi (1/12). Notice that the correct resolution is not far from a 6 megapixel camera, about the same as my Nikon D40.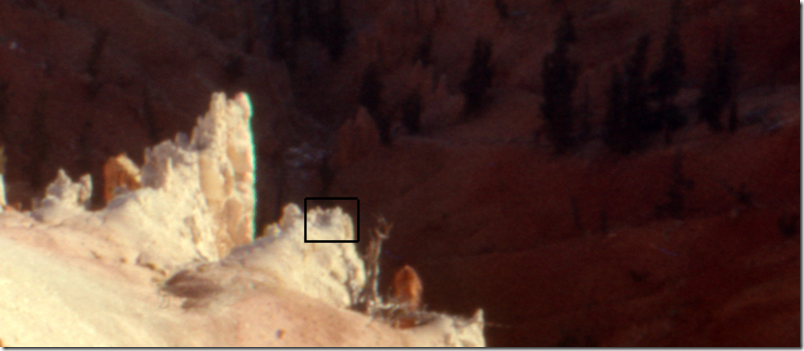
The following picture follows the pattern of the color slide, but is of a black and white slide. The resolutions are the same as with the color slide. For the small parts I have radically stretched the contrast.
Bit Depth
I scanned at 16 bit/channel (48 bit color) for most slides. The reason to do this is that the slides require some significant color processing. Most of the slides are severely overexposed, and typically badly yellowed. In truth, if I were to simply fix the exposure issues and deal with the yellowing it might be OK to scan with 8 bit/channel. However, it is not clear that this processing is the last these slides will see. While the final output of the process stream will be a JPEG (which is limited to 8 bit/channel) I would like that JPEG to be fully utilized so that future editing does not lead to posterization or banding.
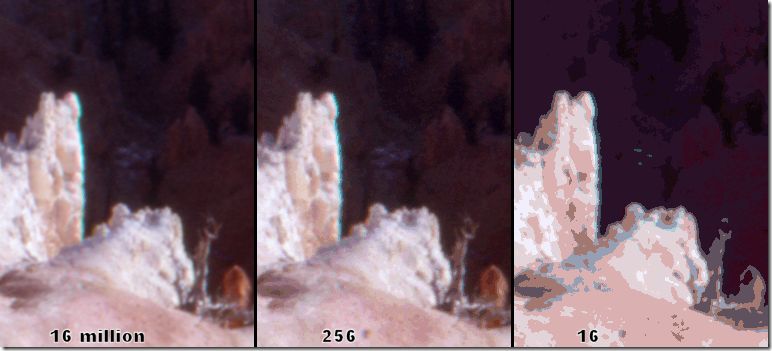
It may be helpful to understand posterization, also called banding. The following picture shows an image with 8 bits per channel, or 16 million colors, then 256 colors, and then 16 colors. Obviously the 16 color version is totally unacceptable. The 256 color version is visibly worse than the 16 million color version, look especially at the reddish object in the lower right.
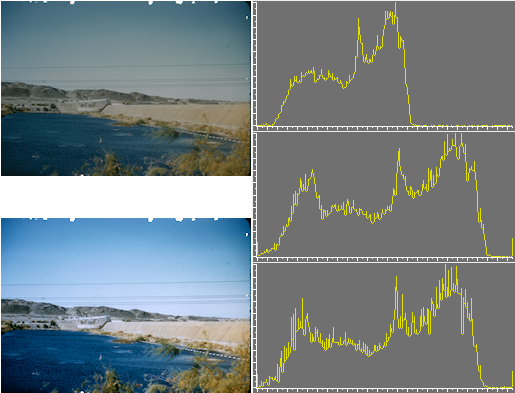
The following diagram shows the image and histograms at two stages of processing, one starting with a 16 bit/channel image, and one starting with the same image at 8 bit/channel. Notice how the histogram in the final section of the 8 bit/channel image has deep valleys between the peaks—effectively that histogram is showing banding. Because the banding is nearly invisible in the 8 bit/channel image I think I could reasonably scan at 8 bit/channel; however, it would not take much more processing to produce visible posterization in the image scanned at 8 bit/channel. The only two operations performed on this scene are contrast enhancement using a “curves” tool and color correction using the “color balance tool”.
Corrections
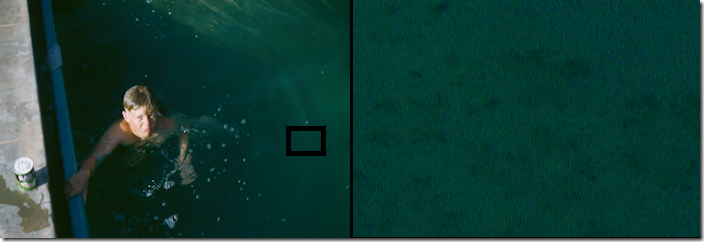
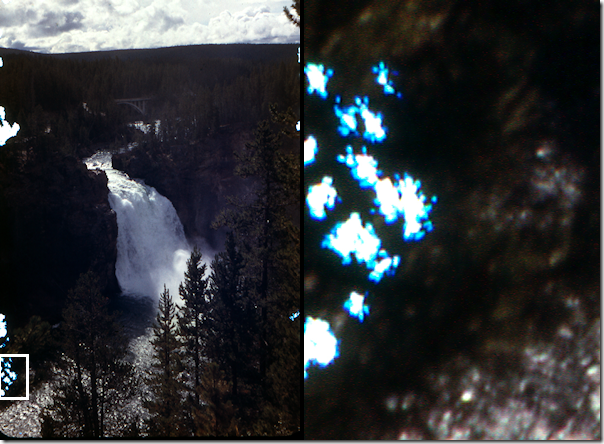
The slides include a variety of flaws. Most of them are underexposed. Most of them have also yellowed with age. There are places on some slides where the emulsion has what appear to be crystals growing, and others where the emulsion has retreated from small sections. The following picture shows dark spots in some areas which are the caused by this crystalline looking deposit.
The following slide has clear parts, where the emulsions appear to have retreated. On most slides this is only near the edge and the best solution is cropping. However, on some slides it affects a subject’s face and must be hand painted.
Color correction and contrast enhancement was performed with the “levels” or “curves” controls and the “color balance” tools. The results of those operations are shown on the following image. The left-most frame is the original scan, which looks like a badly overexposed black and white picture. The middle image has somewhat better exposure, but looks like a sepia toned image. The rightmost picture is color corrected, and reveals that photograph was not actually black and white, but a color photo. Note that this picture isn’t really worth saving due to the motion blur and subject matter, but it is revealing of the impact of basic editing.
In addition, the process of digitizing the image introduces dust motes and fibers, some of these dust particles are clearly visible in the frames above. To control the motes and fibers I brushed each slide on both sides, brushed the light source, and cleaned the scanner bed between each scan.
Most mote correction was accomplished with the clone brush. This worked for any region where the pattern was consistent and broad, such as the sky, or on gravel. However, across people’s faces the clone brush did not produce very good results.
The fibers often crossed faces or fingers, or other hard-to-clone regions. The brush seemed powerless to remove the fibers too, though it was efficient at moving them. The dirtiest slides were scanned twice, with brushing in between. Then the slides were overlaid, masked, and the top slide’s dirty parts erased to reveal the clean slide underneath.
While the method is effective, it is also a pain. In addition to doubling the scanner time, it increased the processing substantially. The slides had to be registered very accurately for the method to work. This required careful positioning, and rotation. Both operations were agonizing due to my computer speed. For color slides it was nearly intolerable, as my software crashed when I tried to use more than one color 16 bit/channel layer.
For reference, to register two images you take the two scans and make them layers in a single image, then set the “blend mode” to “difference”. Perfect registration will reveal a black screen. The figure below shows the full image on the right, and the difference image on the left. The white outlines tell that I don’t have the image exactly registered, perhaps the rotation is a little wrong.
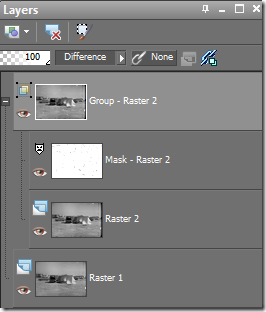
The layers that comprise a finished product include the two “rasters” and the “mask”, as shown in the layers dialog below.
Except for some scripting to automate the resizing, that is all the processing I did. May my example be of service.




Comments
2 responses to “Old Family Pictures”
This was actually a really interesting look at this stuff. You looked very in depth at things I just normally do without thinking (whether I do them correctly is a wholly different discussion). I actually really liked the way to figure out if two images are registered correctly. I’m definitely going to use that at some point! Somewhere I have some slides I need to scan at some point. This makes me kind of dread doing it 🙂
Thanks, glad it was worth reading!
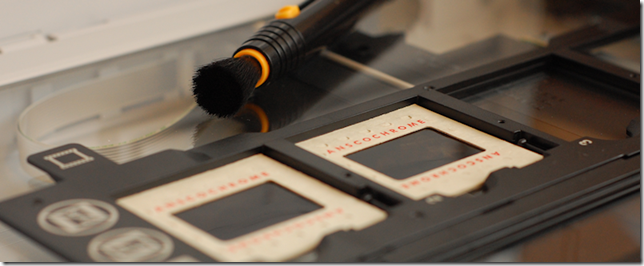
If I have to do this again I’ll buy a camera adapter similar to one I borrowed from my father. My camera’s resolution is marginal, but perhaps I can borrow someone’s 12 MP… The scanning time is dreadful on my machine, but a camera can do it in a blaze. I would use RAW for that, of course. Slide adapters are like this one, but I think I’ve seen generic ones too.